Creating Backups (Windows)
Contents
Create a Shared Folder
-
Identify or create a folder to store your server backups.
-
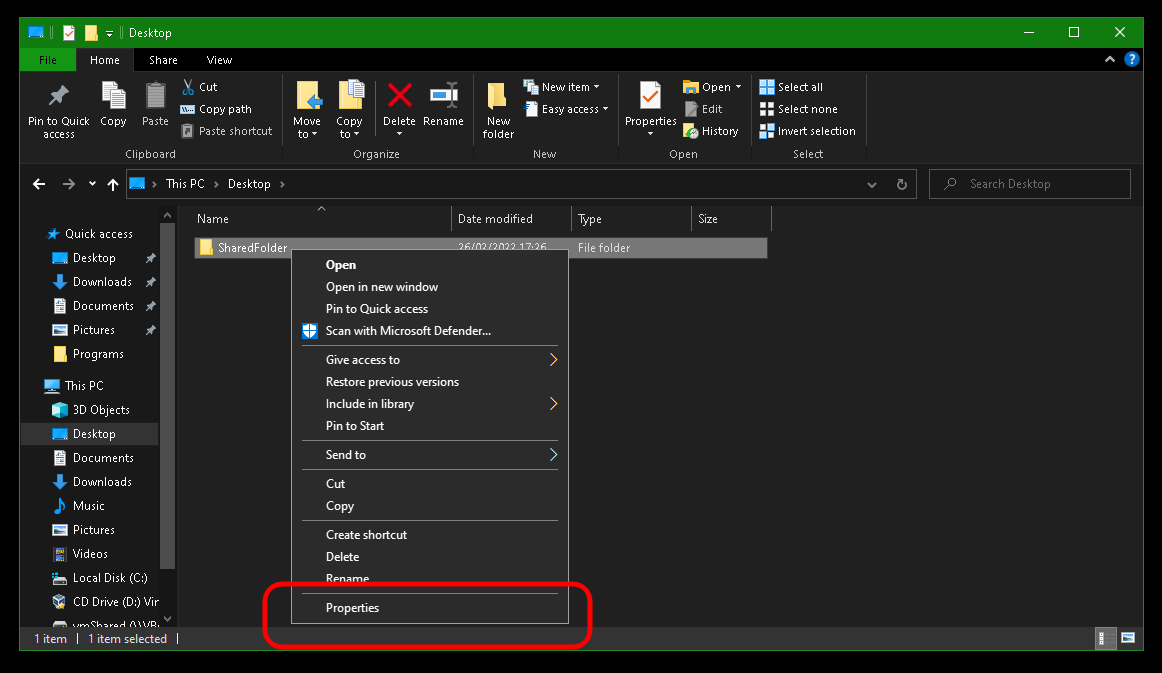
Right click the folder and click "Properties".
-
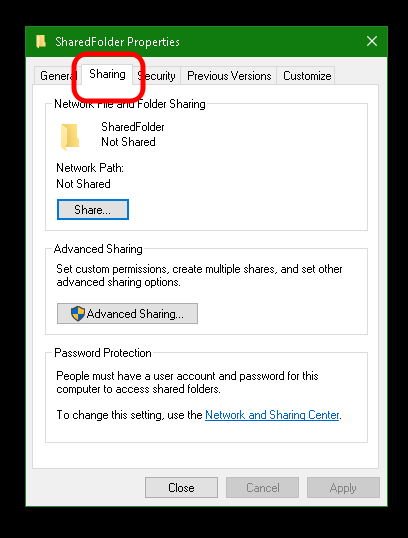
Click "Sharing".
-
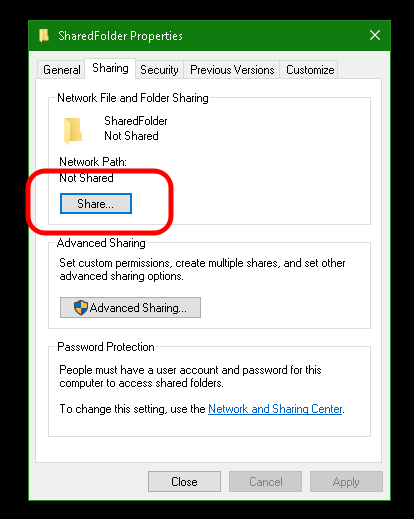
Click "Share".
-
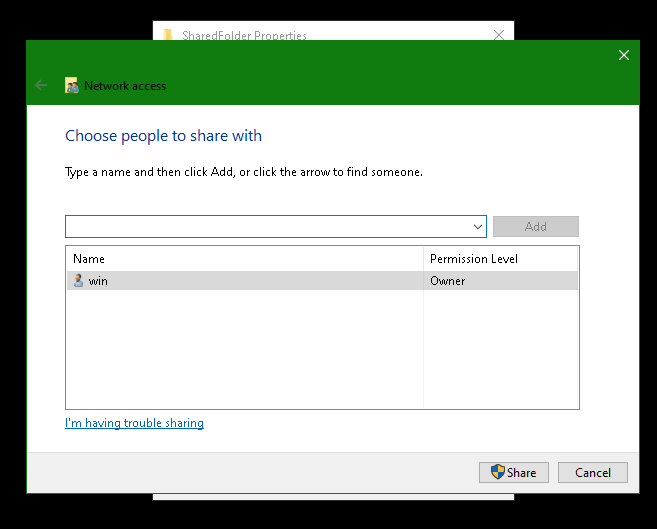
Select a user you want to use for login and click "Share".
-
Note the Windows directory path in grey text, highlighted in blue, beginning at the first single slash (
\). We will use that path later.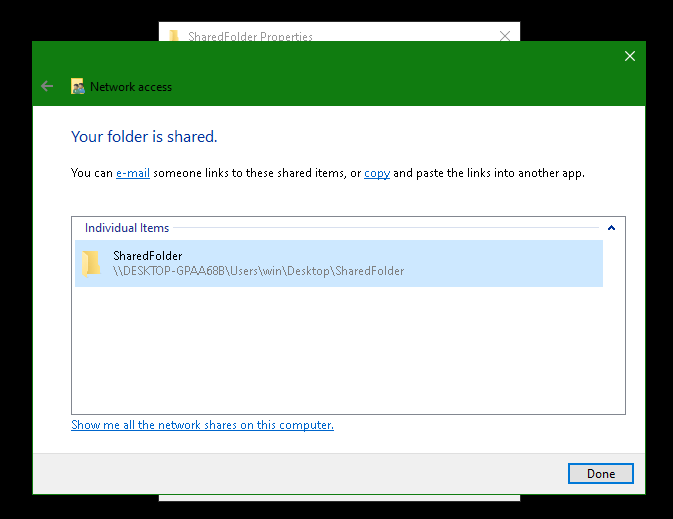
Create a Backup
-
In StartOS, go to
System > Create Backup. -
Click "Open New".
-
Complete the form:
-
Hostname: Enter your Windows computer name (this is shown after a
\\). -
Path - Enter the folder path followed by the share name displayed in the Windows sharing dialog shown copied from above. In our example this would be
/Users/win/Desktop/SharedFolder. When entering the path, make sure replace the back slashes\shown in Windows with forward slashes/. -
Username - Your Windows user who owns the shared folder.
-
Password - Your password for the above user.
-
-
Click "Connect".
- If you receive
Filesystem I/O Error mount error(13): Permission denied:
-
Ensure you are entering the correct username and password. You cannot use a pin.
-
Ensure your windows password meets any length and complexity requirements set by your local Windows policy.
-
Office365 accounts also may not work at all, try a regular user in this case.
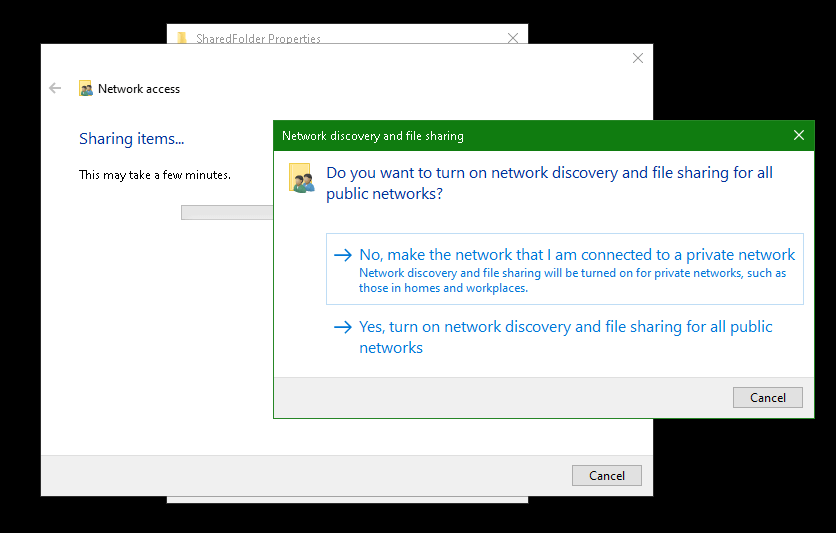
- If you receive
Filesystem I/O Error mount error(115): Operation now in progress,
- Navigate to
Start > Settings > Network & Internet > Ethernet (or WiFi)and select the "Private" profile to treat your LAN as a trusted network that allows file sharing.
- If you receive