BlueWallet with LNbits
This guide assumes you have already setup LNbits as per :ref:this guide <connecting-lnbits> with LND as your underlying node.
-
BlueWallet requires that we use the LnbHub extension in order to connect to LNbits.
-
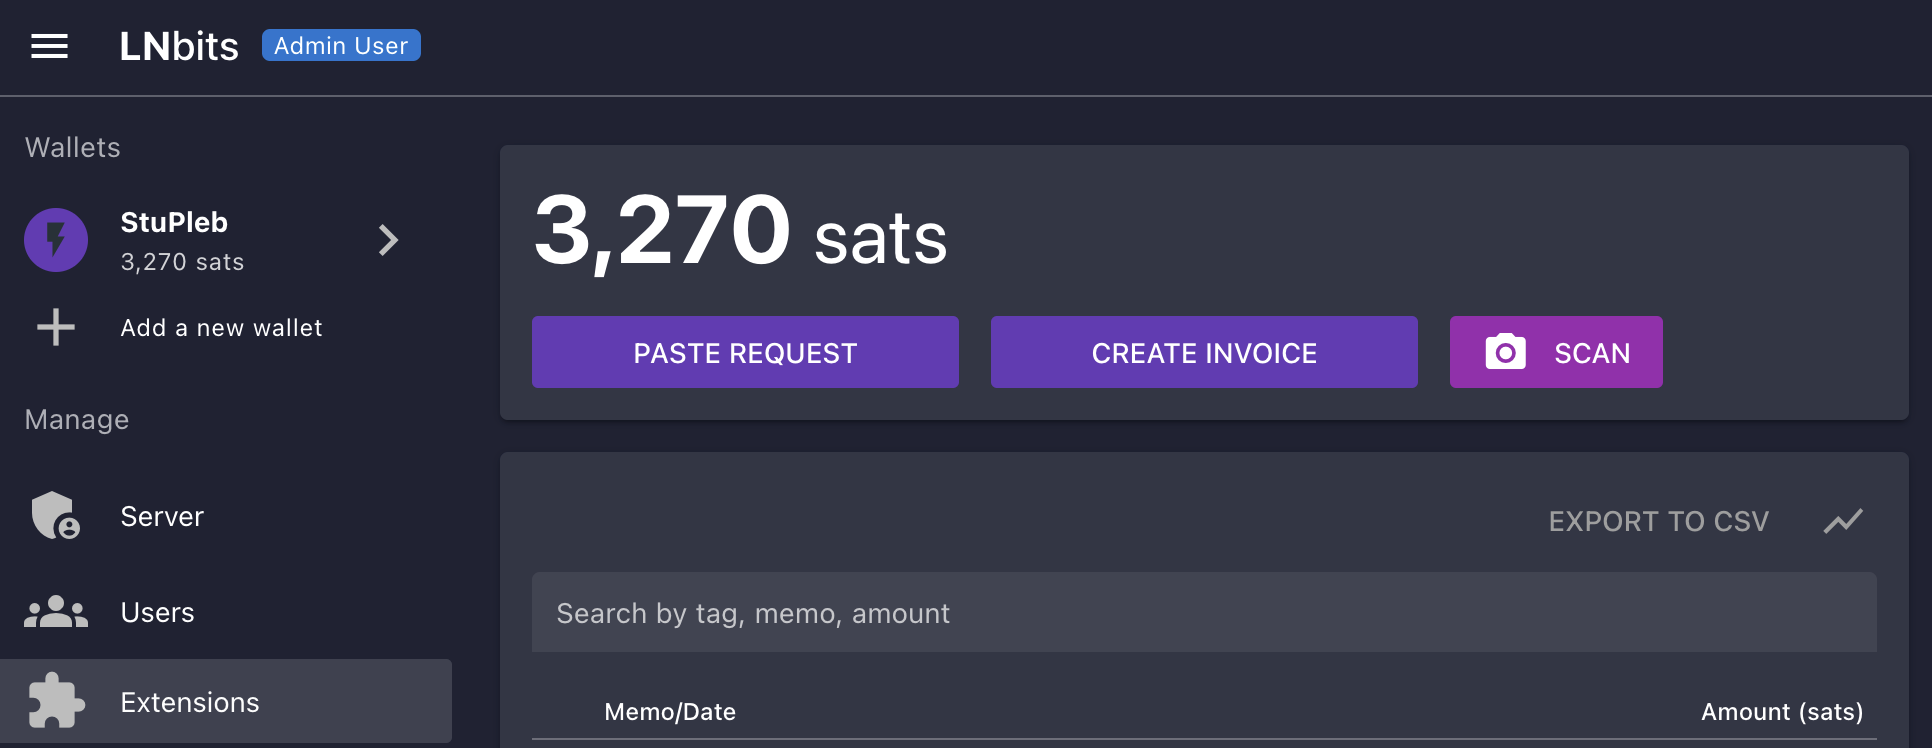
To do this, click Manage Extensions:
-
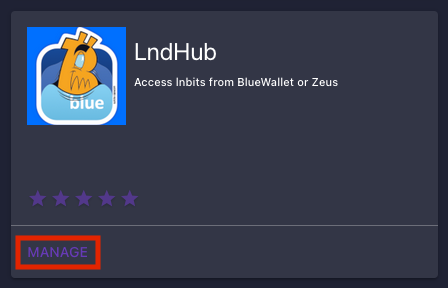
Click MANAGE under the LndHub extension:
-
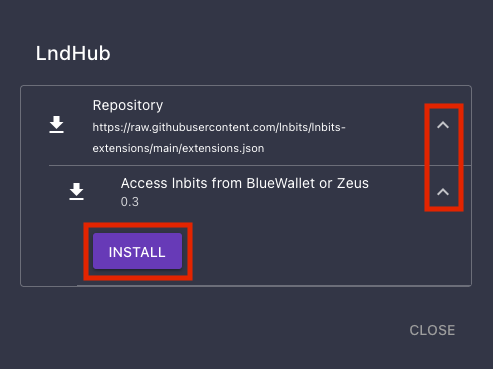
Click the two arrows on the right, then click install:
-
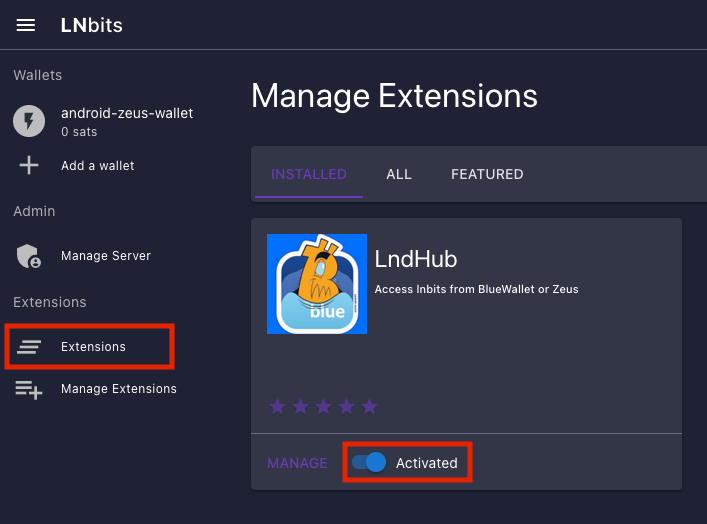
Now ensure that it says Activated underneath LndHub and then click Extensions on the left:
-
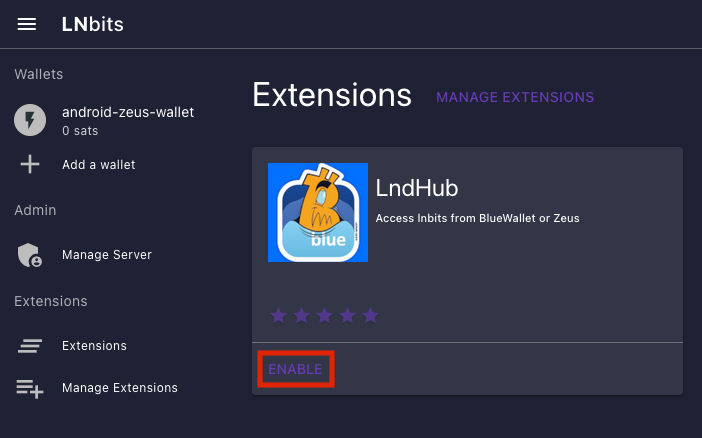
Click ENABLE:
-
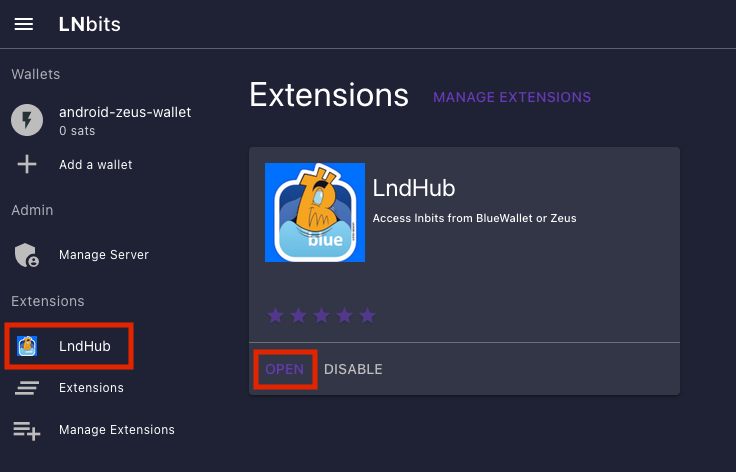
Click OPEN or LndHub under Extensions:
-
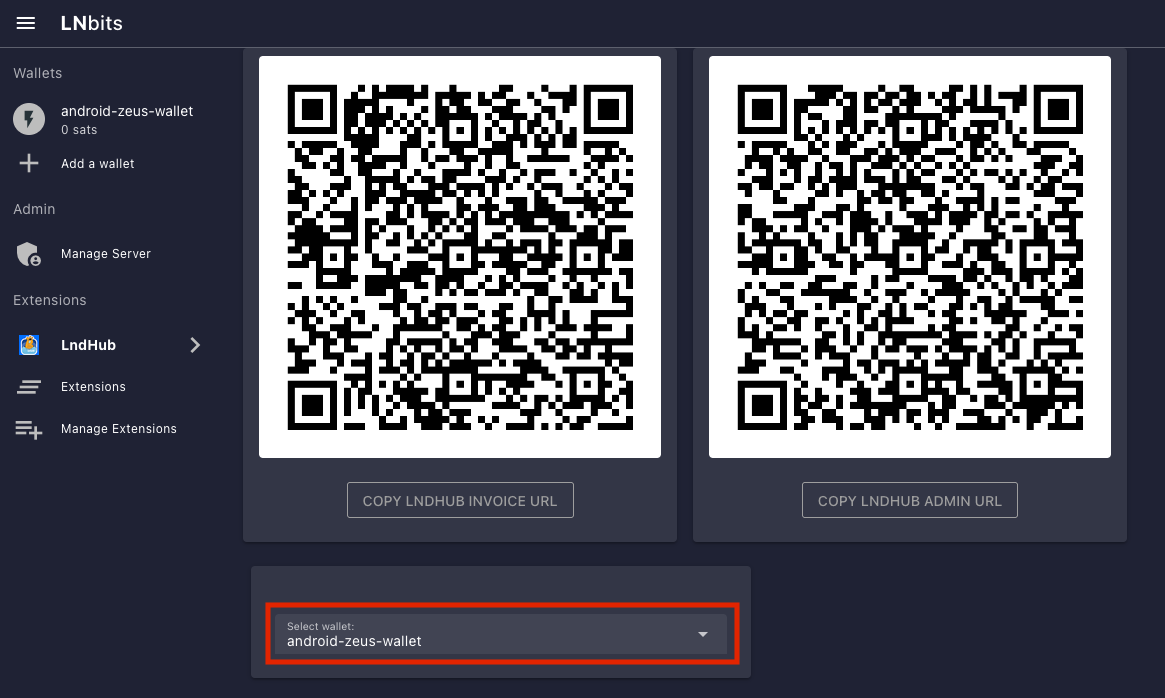
Make sure the wallet you just created is selected below the two QR codes:
-
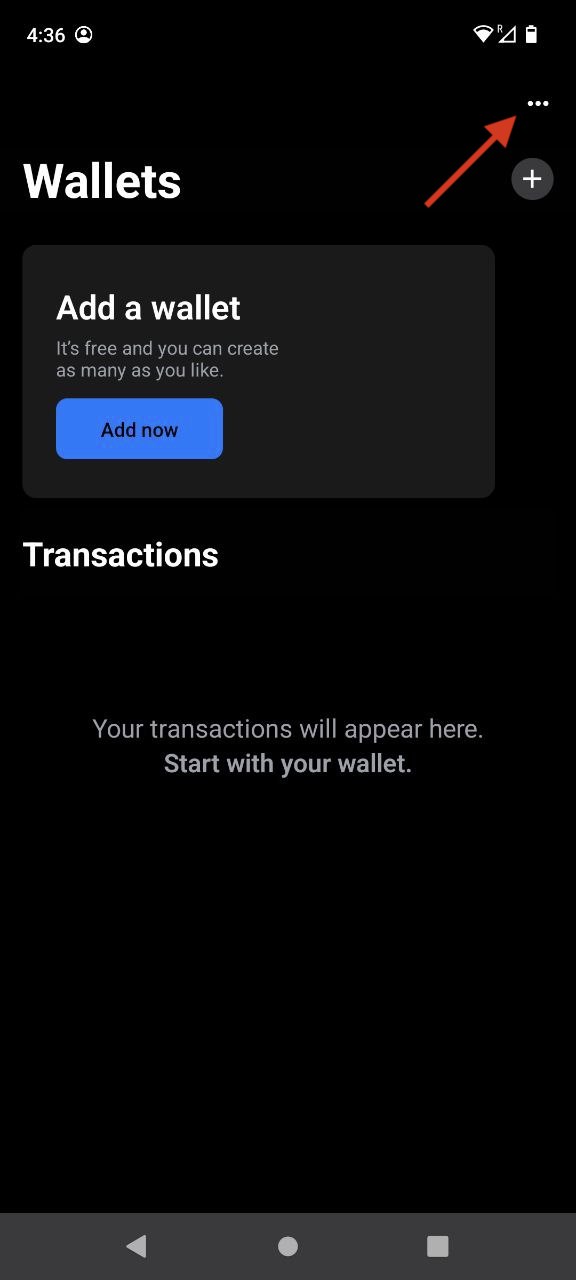
Open up BlueWallet and click on the three dots in the top right:
-
Click "Network" then "Tor settings":
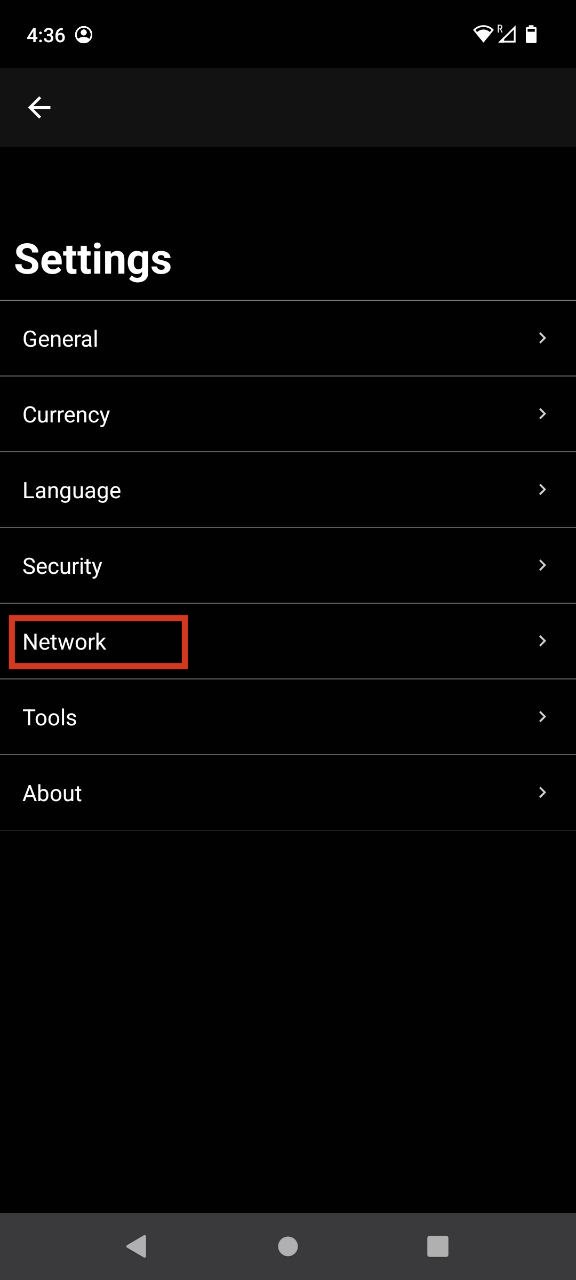
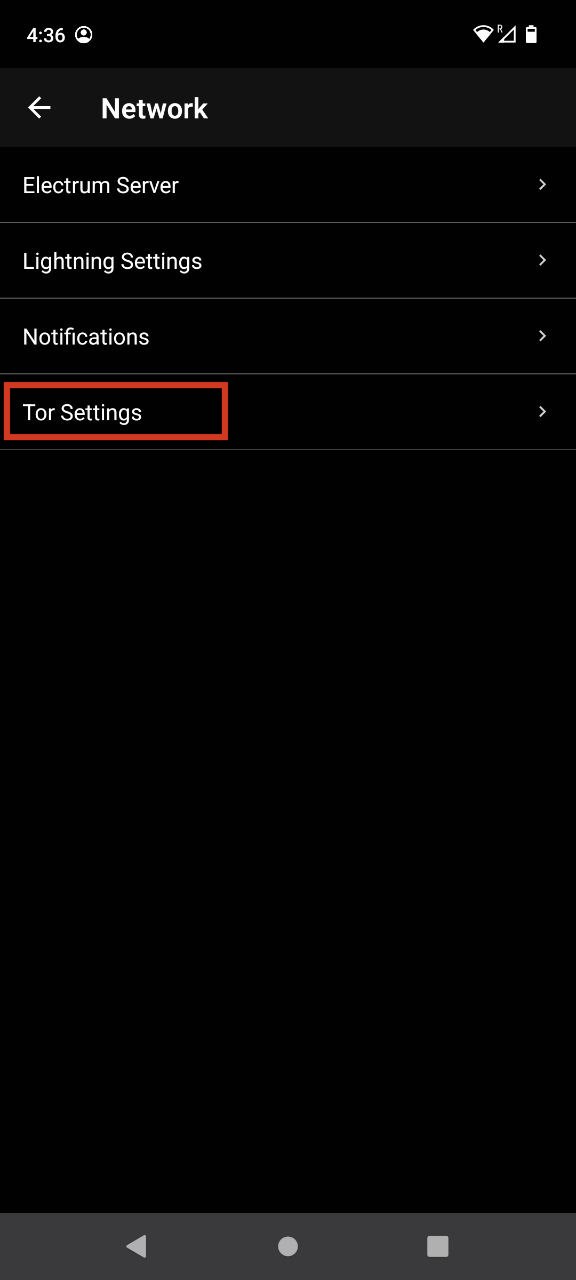
-
Click "Start" and it should say "Done" after a short time:
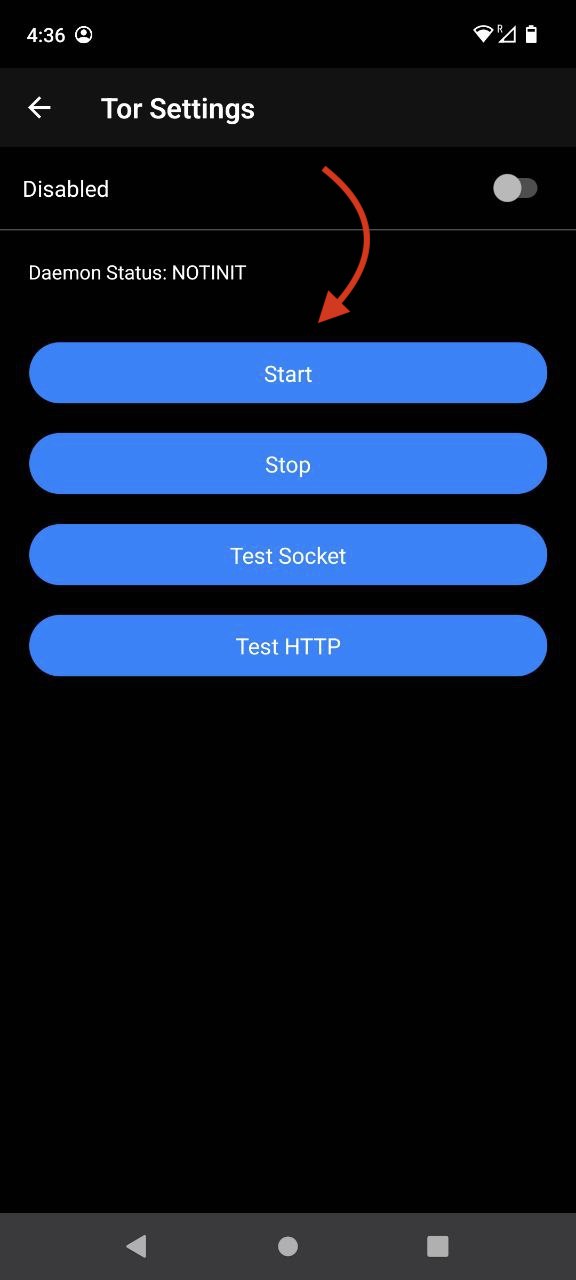
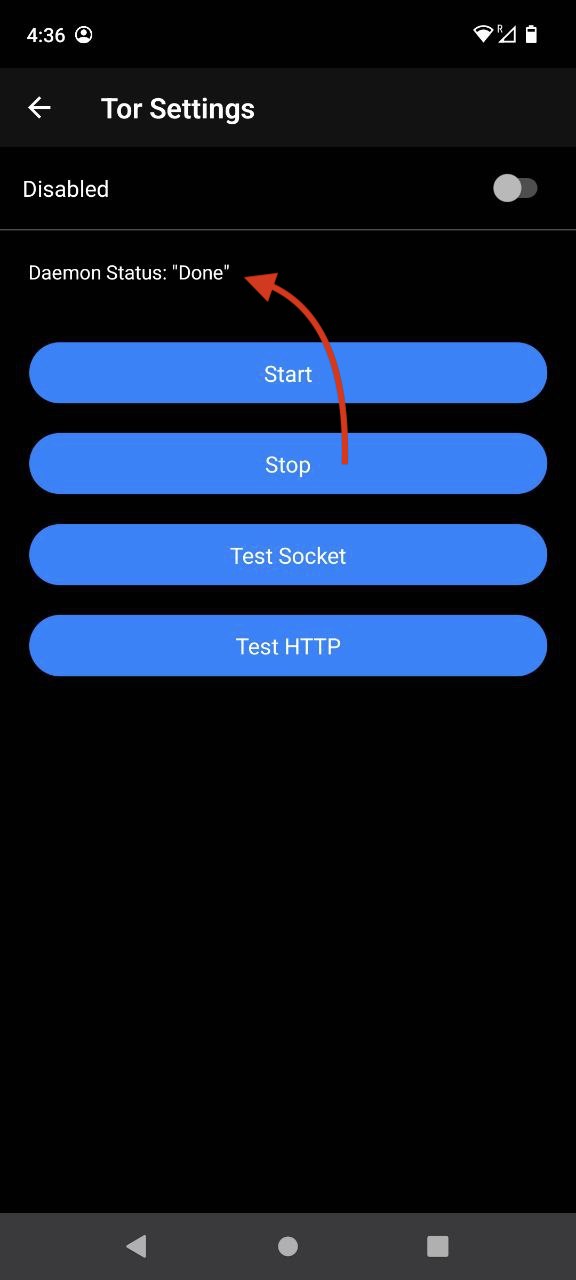
-
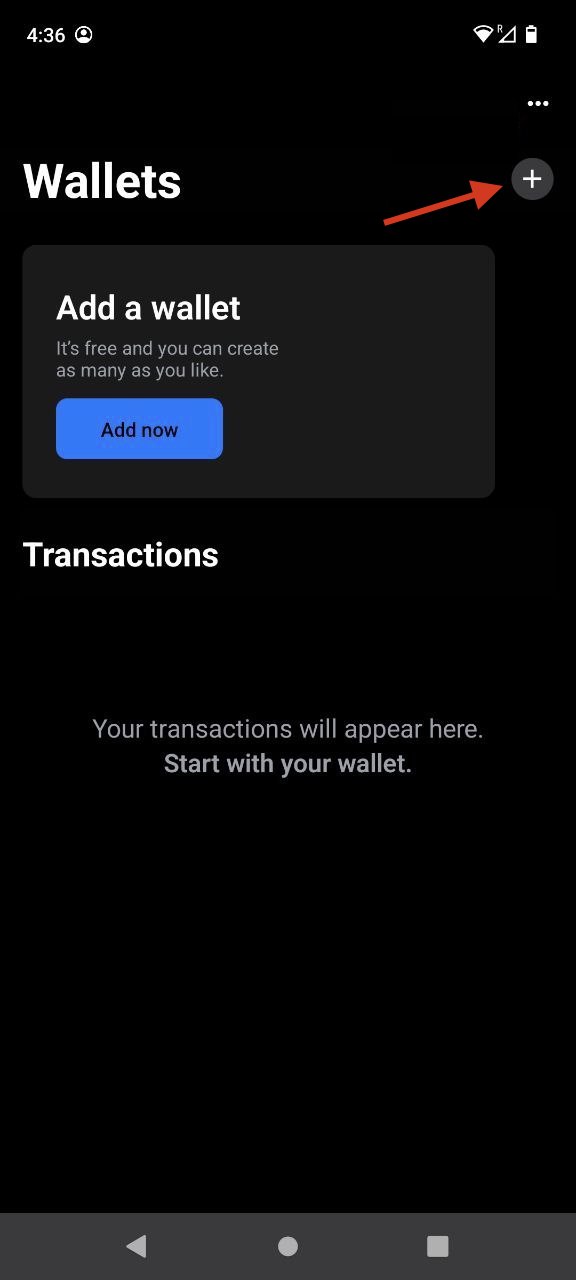
Head back to the main screen and click the "+" sign:
-
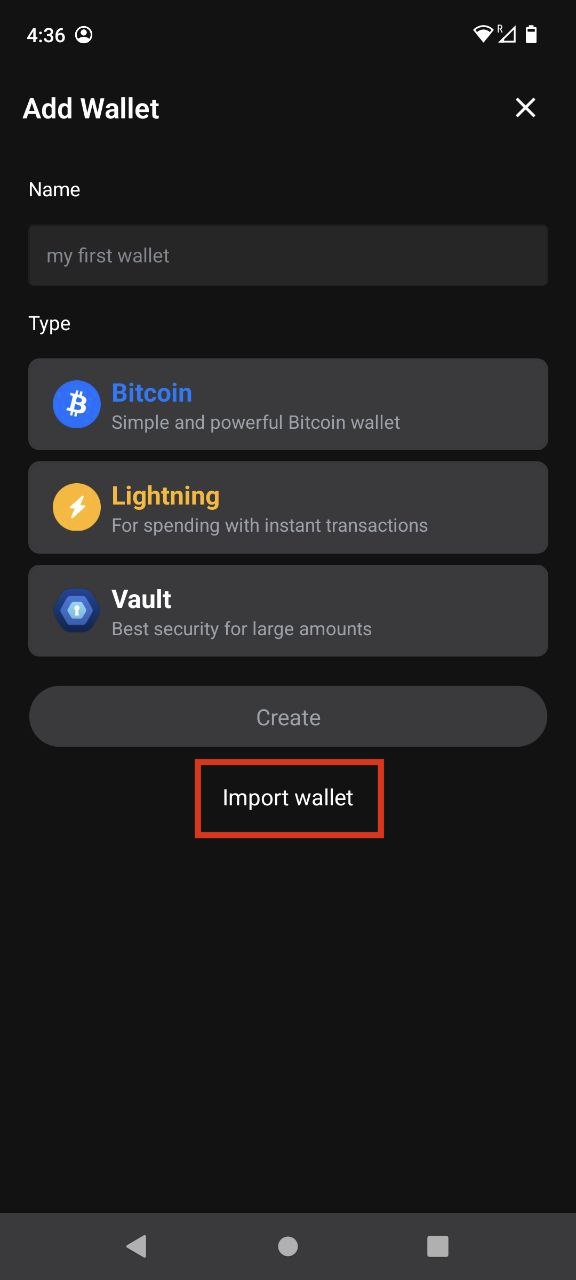
Click "Import wallet":
-
Click "Scan or import a file"
-
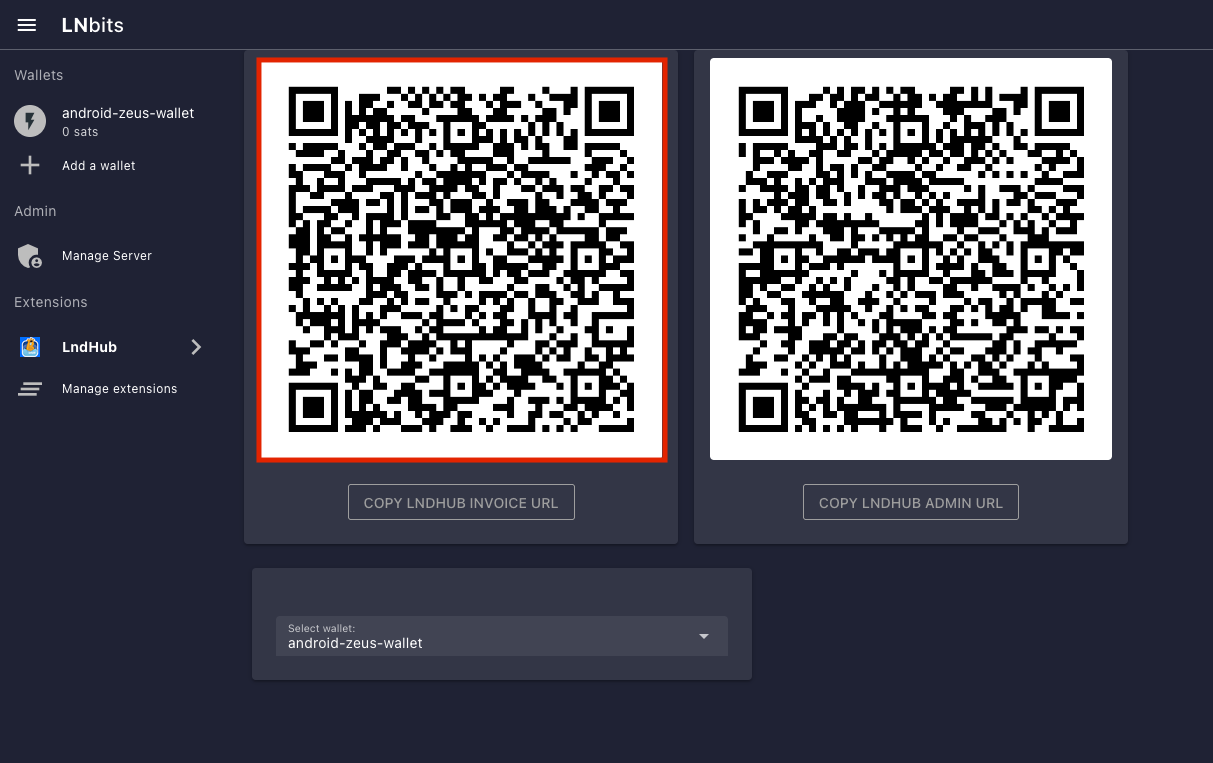
If you only want this wallet to be able to RECEIVE PAYMENTS, scan this QR code:
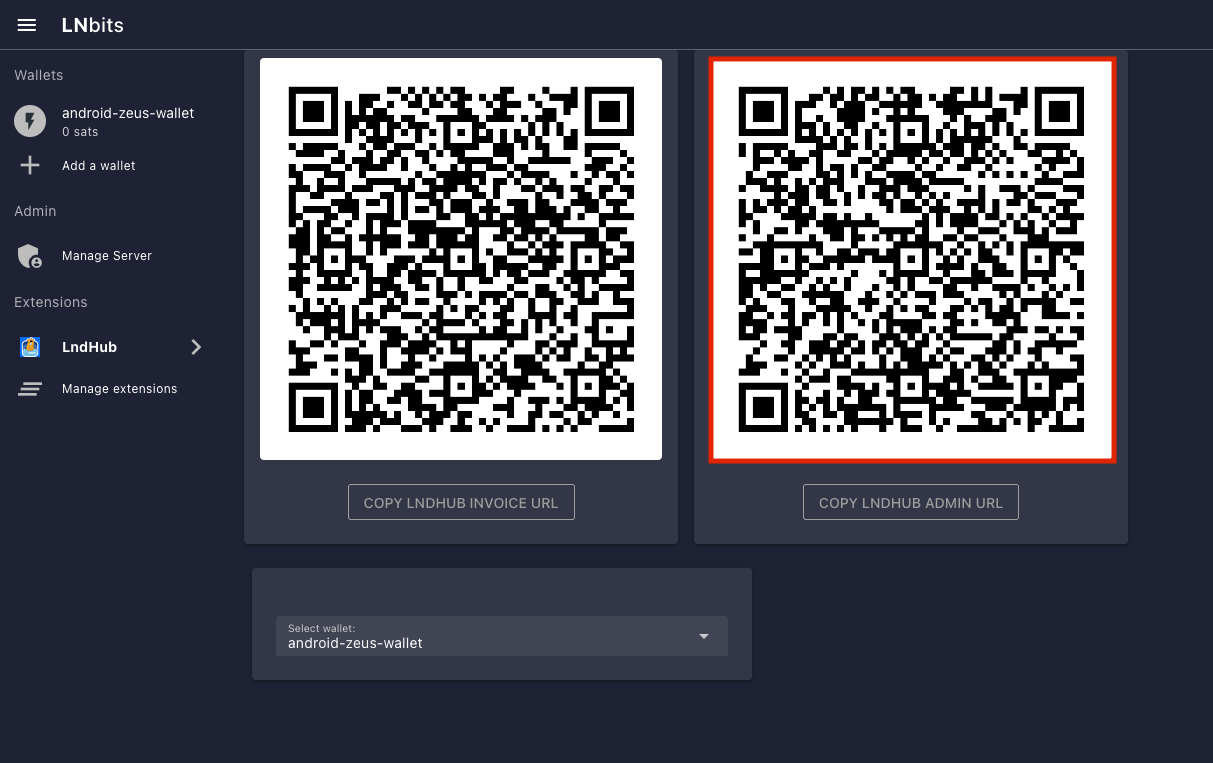
If you are happy for this wallet to be able to both receive and MAKE payments scan this QR code:
-
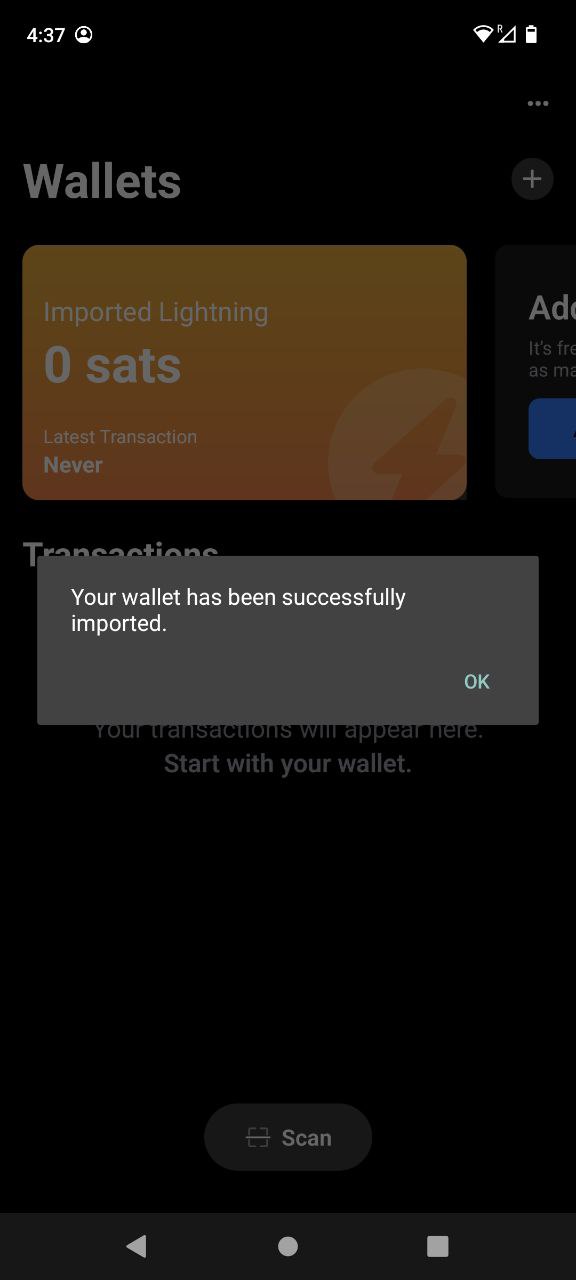
You'll see this once the wallet is added:
-
In addition to allocating sats to this wallet via the LNbits Superuser Account (see "Funding LNbits section" here), you can also receive funds the normal way by hitting "Receive" within BlueWallet.
Funds received this way must be sent from another lightning node, not the LND node underneath LNbits. A lightning payment that originates and terminates at the same node is technically a rebalance, not a normal payment.
Congratulations! BlueWallet is set up and ready to use lightning via your own lightning node - furthermore it will only be able to use your node in the way you allow it, via LNbits.