Upgrading Your Raspberry Pi
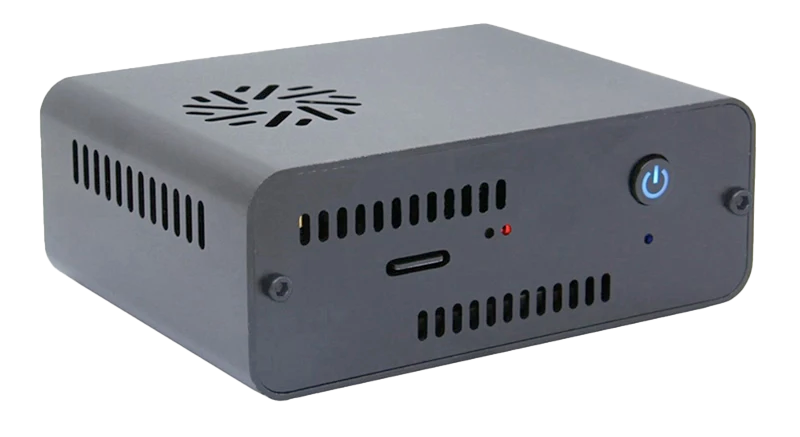
Follow this guide to upgrade from a Raspberry Pi StartOS server to a Server One, Server Pure, or similar device.
Contents
From a Pi with External Drive
Use this section if your current StartOS Raspberry Pi uses an external drive over USB.
-
Stop every service on your Raspberry Pi server.
-
Shutdown your Raspberry Pi server and disconnect from power.
-
Connect your new server to power and ethernet.
-
Visit http://start.local on any computer on the same LAN.
-
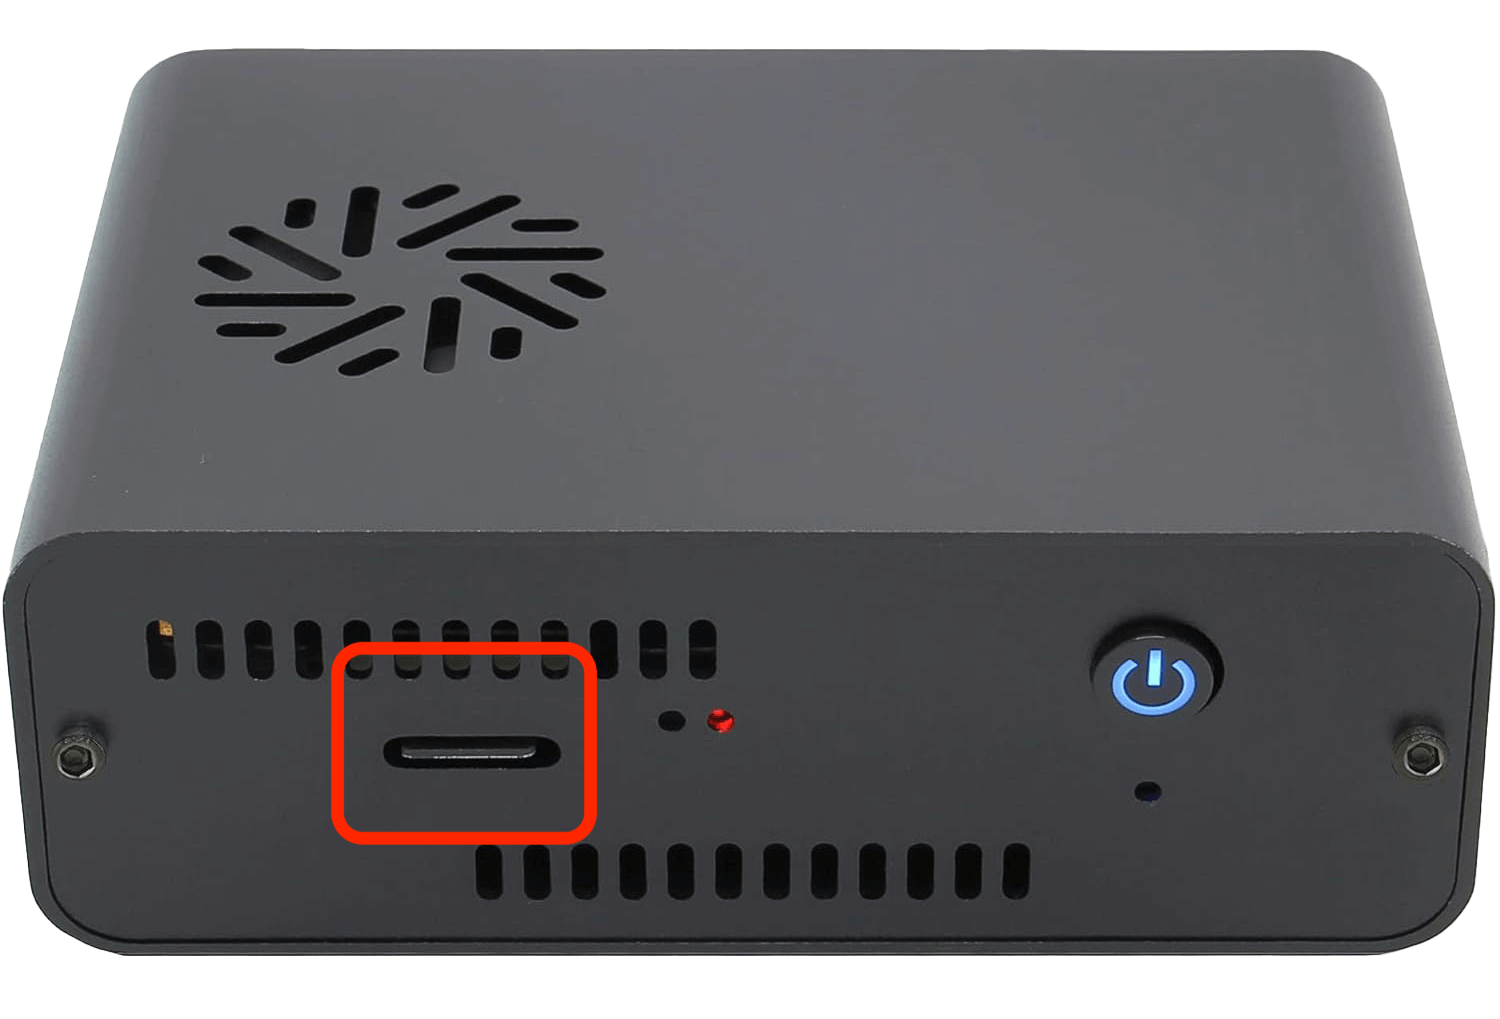
Connect your previous storage drive to any USB-3 or USB-C port on your new server.
-
Select "Recover".
-
Select "Transfer".
-
On the "Transfer" screen, select the previous external storage drive.
-
On the "Select Storage Drive" screen, select your new storage drive. This is the internal drive of the new server.
-
Create a password for the new server. It can be the same as before.
-
Your data will now transfer. This can take minutes to hours, depending on how much data you have.
-
If you intend to re-purpose the Raspberry Pi as another StartOS server, be sure to first re-flash the microSD, then perform a fresh setup, which will wipe the SSD in the process. It is a good idea to wipe the SSD separately beforehand, just in case.
From 2022 Embassy One (NASPi case)
-
Get a high quality USB-A to USB-A cable.
-
Power down the old server, then pull out the micro SD card.
-
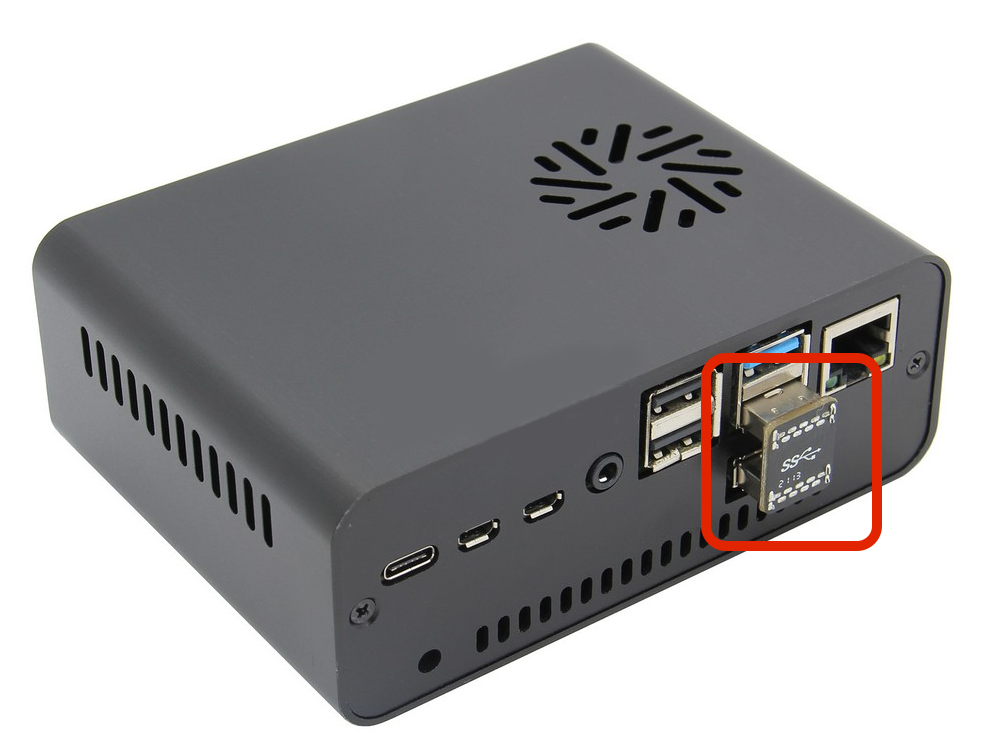
Disconnect the USB adapter.
-
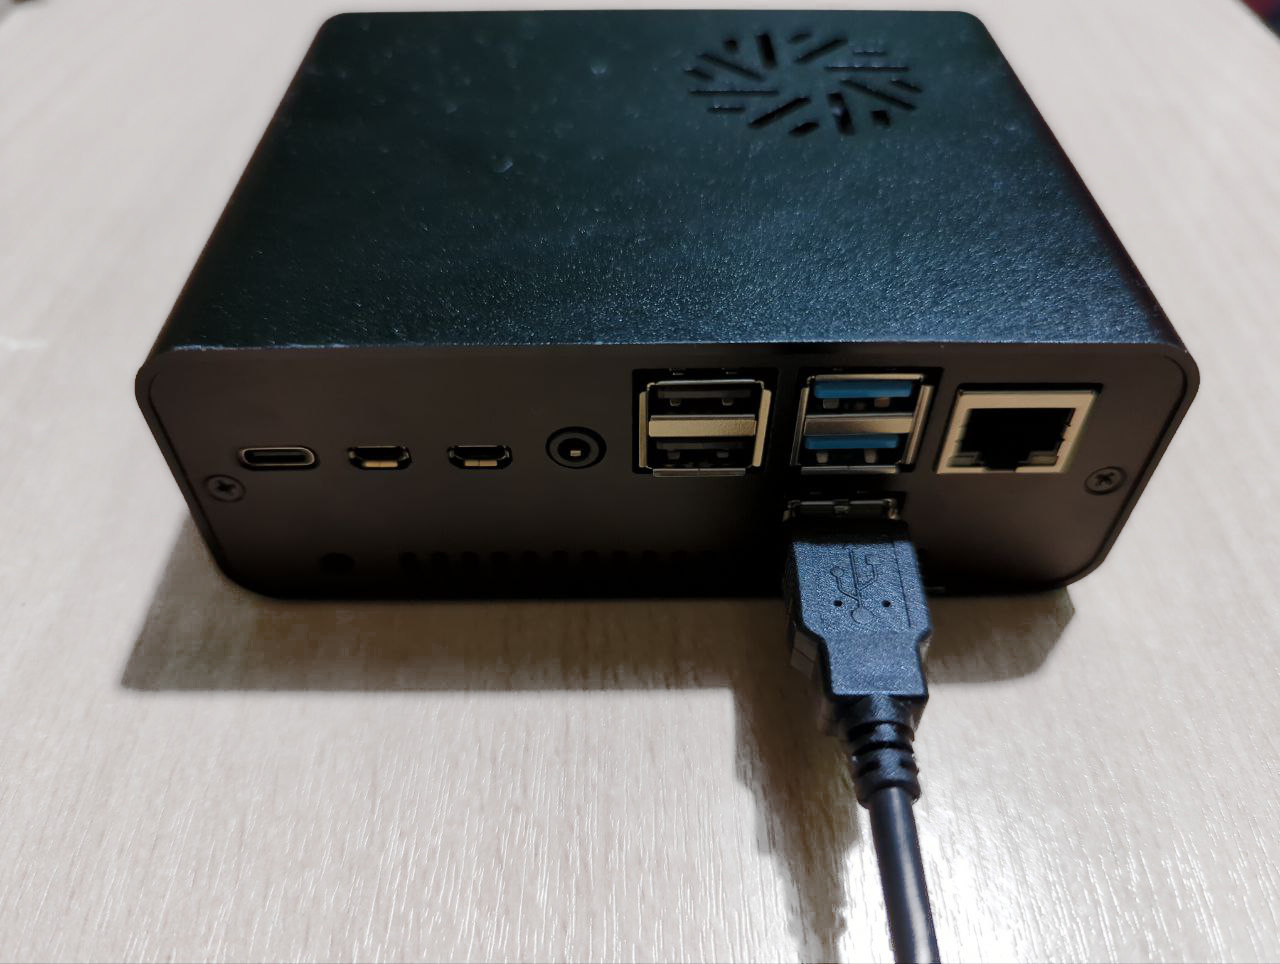
Connect one side of the USB-A cable to the lowest blue USB port on the old server, then the other side to a blue USB port on your new server.
-
Power on the old server
-
The two servers are now tethered together, and the NASPi is now powered on.
-
Connect your new server to power and ethernet if not already and also power on.
-
Visit
http://start.localon any computer on the same LAN. -
Select "Recover".
-
Select "Transfer".
-
On the "Transfer" screen, Select the NASPi storage drive.
-
On the "Select Storage Drive" screen, select your new storage drive. This is the internal drive of the new server.
-
Create a password for the new server. It can be the same as before.
-
Your data will now transfer. This can take minutes to hours, depending on how much data you have.
-
If you intend to re-purpose the NASPi as another StartOS server, be sure to first reflash the microSD, then perform a fresh setup, which will wipe the SSD in the process.
Do not re-insert and power on the Raspberry Pi until you have successfully re-flashed the microSD. If you power it on with an unflashed microSD inserted, it can cause serious problems, including loss of funds if you are running a lightning node.